29th November 2018
I've finished the structural parts of the repairs now. The crumpled wing root at the leading edge I have cut away, popped some foam inside, then refashioned the skin from carbon fibre.
I made a paste from finely chopped carbon tows and resin to reshape the distorted cutaway for the joiner and fine cracks on the fuz.
I injected resin into the wobbly aileron and clamped it straight.
I also used resin and clamps to repair the wing root on the other wing at the trailing edge.
Lots of sanding and finishing to come 😊 .

17th November 2018
On landing after my final round I made a bit of a booboo and ended being stuffed into the deck by the rotor on the Crest while stupidly making a run for the edge after coming in too fast for landing. In hindsight I should have just popped the brakes out fully and tried to manage it as best I could safely to the ground.
Anyhoo. It required a bit of extricating, but it wasn't anywhere near as badly damaged as I expected my beautiful Pike Precision to be.


I'll try to take some pics as I progress with the repairs.
Should be an easy fix 😎
6th Feb 2018
I have finished repairing the Pike Precision. Very happy with the repairs so far. I've been filling, primering, sanding and repeating especially on the main repair to the broken spar wing.
I'm now up to painting the repaired areas. I've done really well at not adding too much weight so don't want to go berserk on the finish, but It'll look pretty damn good when it's all done. I might try to do some creative airbrushing, we'll see ;-)
I snapped the needle at the repair. A fuselage in two halves is easier to transport around :-)
I've also repaired that one and it's now waiting for paint too! I made a carbon and kevlar splint on the outside of the fuse, used it to support the two halves on the inside, then sanded away lots of the outside and wrapped more glass, carbon and kevlar around the outside. Lots of sanding, filling, primering and sanding and it's also ready for painting. The snakes were a little bit of a challenge, but worked out just fine.
The Precision is all set up and ready to fly, gotta calibrate the Needle and then I'll be back to two serviceable planes again.
25th November 2015
Well it's been a while since I have written anything on this page! That means I'm flying better, flying less, taking less risks, lazy or a combination of all the above.
I spent this season competing with the Willow2 and didn't break it so I didn't need to repair it. I did break the F3B Skorp tho and have decided that IF I repair it, it will be a last resort. I put a plea out earlier this year for some broken, modern F3F battleships and had an amazing response. I have managed to accumulate a Needle 124 which only needs some paint on the fuz (might leave that for another paint job!), a Pike precision with a little more substantial damage than we thought and a re-kitted Ceres.
The Needle is flying and I'm still looking forward to my first competition with it.
The Pike Precision repair has begun, and I haven't received the Ceres yet.
The damage on the Pike was mainly concentrated on the left wing. At first glance I could see some delamination top and bottom and a damaged sub-spar with some separation along the control surfaces. On further examination I found that the main Spar was broken too which has added a little bit of complexity to the repairs!
The first thing I did was to fix most of the delaminations using CA and a needle. This gave a lot of strength back to the top wing skin and to the outer-most delams on the underside. I then took to the lower skin with a sharp blade and ripped my way to its innards, being careful to make the 'hatch' replaceable. I shaped a piece of pink foam to fit inside the wing butting up against the main spar.
After scratching up the inner surface, cleaning with some acetone (after testing it on the foam!) and cutting out some carbon, I laminated from the drag spar to the main spar, popped some wetted out carbon sock flat against the main spar, squashed the foam block against the spar and popped some wetted out carbon on the foam block to bind to the previously mentioned hatch. I also got some epoxy into the delaminations on the flap and aileron.
A couple of pieces of right-angle Aluminium clamped to the drag spar and 'hey presto!'
Now we wait!

Hopefully tomorrow I will get to strengthen the main spar and put some carbon on the outside of the lower skin to help me to get the correct shape back and improve the structural integrity.
29 December 2014
Well I ran out of paint, but I finished all the repairs and have the planes both up and running. I didn't take anymore photos and figured that you probably really don't want to see the heavy handed repairs that I do. Although I will say that the quality of my repairs has massively improved now that I have bought and watched the Glider Repair Lab videos.
They are a fantastic resource and well worth the small charge for the 6 hours of quality footage and information.
The link is here if you are interested. (if you crash, you should be interested)
It is really difficult to repair AND document the process at the same time!
26 November 2014
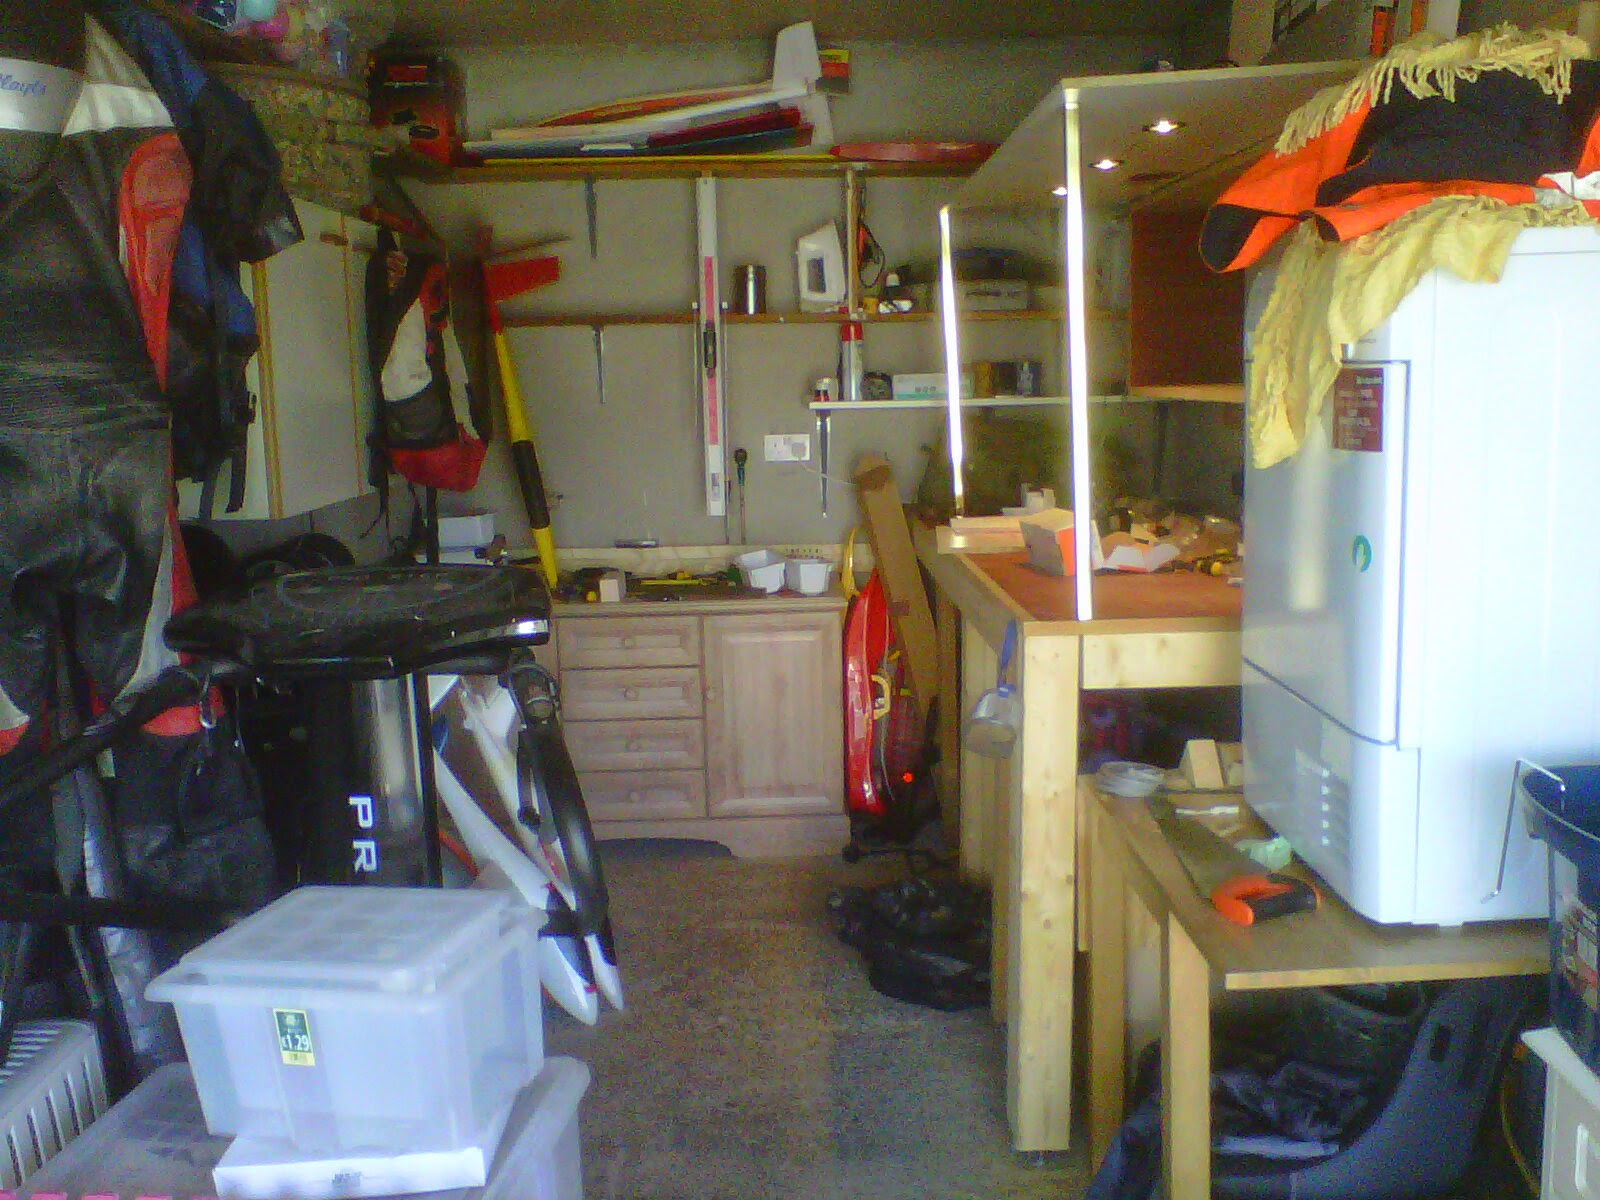
Well, I finished the garage a while back and managed to create a hot-box that also acts as overhead lighting for my bench.............. and then I took up golf.


I've done a couple of quick repairs lately but after this last weekend, I have something a little bit substantial to do and I've actually taken a couple of photos!
I had a battery failure which led to my fully ballasted Skorp burying itself in the dirt on top of the Bwlch and breaking the nose almost completely off, splitting the ballast tube and bending the fuz behind the wings.
The wings survived pretty well and all I really have to do to them is re-attach the control surfaces which I'll try to do with silicone.
To start with I had to get the ballast tube out which was pretty securely glued in so I made up a tool to enable me to break the epoxy by laminating a hacksaw blade to a piece of plastic skirting board with some resin and carbon tows. This enabled me to hit the blade with a hammer and impart the force effectively.

I lined up the ballast tube as best I could and used some thin CA to hold it together and used two pieces of Aluminium 'L' bar to keep it straight while it set.
Then I cut a number of pieces of carbon TOW to lay longitudinally over the affected area of the tube and epoxied them in place, covered with some waxy plastic and wrapped in electricians tape. Then I re-secured the 'L' bar to the tube and let it set overnight.


I spent at least an hour today making sure that the ballast could get into and out of the tube as well as it did before the crash. They are a finicky little blighter, ballast tubes!
Next up I tackled the rearward break in the fuse. I ground back the area to be repaired, lined it up and CA'd it to secure it as straight as I could.

I then cut some slits across the broken area and inserted some carbon TOWS into the holes and hit it with some Medium CA. I wrapped with the waxy stuff, lecky tape and popped an L bar on it.

I let it set for a while, popped all the gubbins off and sanded it back with my new palmy orbital sander which I accidentally purchased from Wilkinsons when I popped out to get some cat food!
Certainly speeds things up a bit!

I didn't get any photos of the next bit. I created a paper template of the area I wanted to put glass and Unidirectional carbon and cut out the pieces of fabric. I sprayed a light mist of spray glue onto the fuz and laid the carbon, then glass over the area. I mixed up some laminating epoxy and wet out the fabric.
I wrapped some perforated film around the repair, then some paper towel followed by a tight winding of lecky tape.

I strapped the L bar to one side only as I needed to apply a little bit of sideways pressure to the fuselage to line it up perfectly.

The Fuz is now perched above a heater in the conservatory for the night and we'll see how it looks tomorrow afternoon. I didn't leave it in the garage overnight as we are getting down to 0degC overnight at the moment and the epoxy doesn't like that very much. This was the perfect opportunity to test out my hotbox, but it is used as a shelf at the moment and I haven't lined the wall with foam yet.

Next up, re-attach the nose. Could be a bit tricky

To start with, I think I'll do a bit of a garage build with a bit of bench construction. Watch this space as I should be able to get 'stuck in' in a few weeks.
This is what I am starting with:

Wish me luck!
No comments:
Post a Comment